Você está Aqui: Home » Blog » Desenvolvimento e Programação » Como Criar Blocos Condicionais no Gutenberg com Atributos

Fala, dev! 👋
Hoje vamos criar um tipo de bloco super útil: blocos condicionais, ou seja, blocos que mudam o que renderizam de acordo com os atributos definidos no editor.
Esse padrão é muito usado em blocos dinâmicos, especialmente quando queremos personalizar o conteúdo exibido com base em escolhas do usuário — como exibir ou ocultar partes do bloco, trocar estilos, ou até mostrar componentes diferentes.
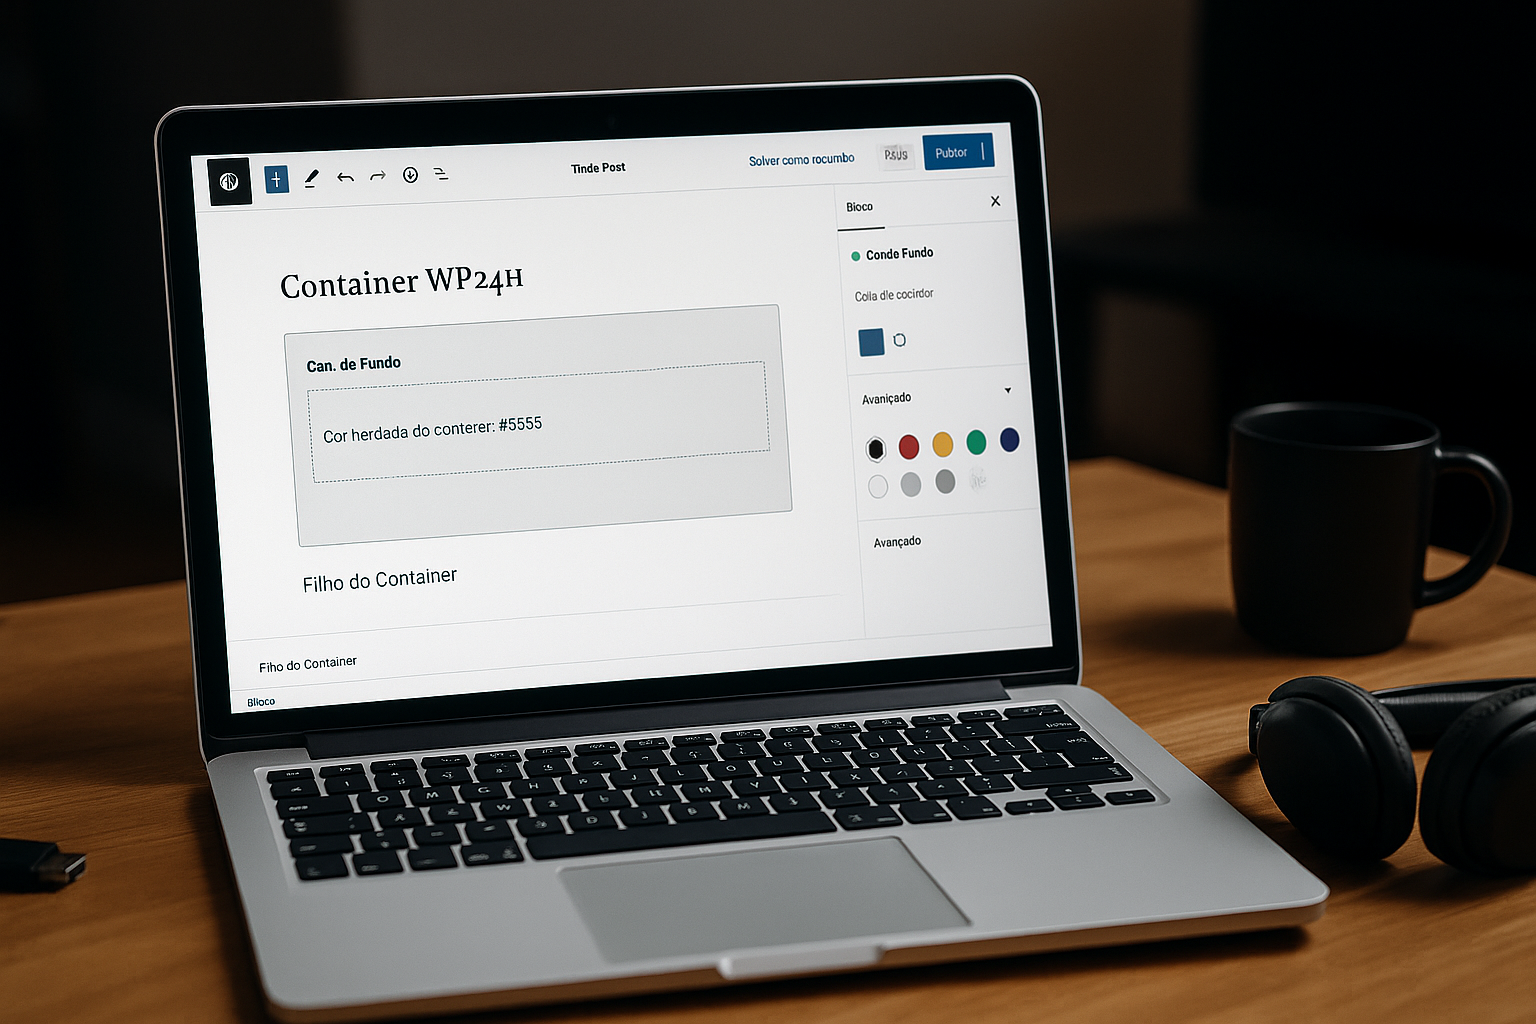
alert-box com variações por tipoVamos criar um bloco wp24h/alert-box com um seletor de tipo:
info (azul)success (verde)warning (amarelo)error (vermelho)E o conteúdo interno será inserido com InnerBlocks.
blocks/
└── alert-box/
    ├── block.json
    ├── index.js
    ├── edit.js
    ├── save.js
└── style.cssblock.json{
"apiVersion": 2,
"name": "wp24h/alert-box",
"title": "Caixa de Alerta",
"category": "widgets",
"icon": "warning",
"attributes": {
"type": {
"type": "string",
"default": "info"
}
},
"supports": {
"html": false
},
"editorScript": "wp24h-alert-box",
"style": "wp24h-alert-box",
"editorStyle": "wp24h-alert-box"
}
edit.jsimport { __ } from '@wordpress/i18n';
import { useBlockProps, InspectorControls, InnerBlocks } from '@wordpress/block-editor';
import { PanelBody, SelectControl } from '@wordpress/components';
const ALERT_TYPES = {
info: 'Informação',
success: 'Sucesso',
warning: 'Aviso',
error: 'Erro'
};
export default function Edit({ attributes, setAttributes }) {
const { type } = attributes;
const onChangeType = (value) => setAttributes({ type: value });
const blockProps = useBlockProps({
className: `alert-box alert-${type}`
});
return (
<>
<InspectorControls>
<PanelBody title="Tipo de Alerta">
<SelectControl
label="Tipo"
value={type}
options={Object.entries(ALERT_TYPES).map(([value, label]) => ({ label, value }))}
onChange={onChangeType}
/>
</PanelBody>
</InspectorControls>
<div {...blockProps}>
<InnerBlocks />
</div>
</>
);
}save.jsimport { useBlockProps, InnerBlocks } from '@wordpress/block-editor';
export default function save({ attributes }) {
const { type } = attributes;
return (
<div {...useBlockProps.save({ className: `alert-box alert-${type}` })}>
<InnerBlocks.Content />
</div>
);
}style.css.alert-box {
padding: 16px;
border-radius: 6px;
color: #fff;
margin-bottom: 20px;
}
.alert-info {
background-color: #2196f3;
}
.alert-success {
background-color: #4caf50;
}
.alert-warning {
background-color: #ff9800;
}
.alert-error {
background-color: #f44336;
}index.jsimport './style.css'; // Garante que o Webpack extraia o alert-box.css
import edit from './edit';
import save from './save';
import { registerBlockType } from '@wordpress/blocks';
import metadata from './block.json';
registerBlockType(metadata.name, {
...metadata,
edit,
save,
});Adicionando o nosso novo bloco, fica assim:
const defaultConfig = require('@wordpress/scripts/config/webpack.config');
const path = require('path');

module.exports = {
  ...defaultConfig,
  entry: {
    'alert-box': path.resolve(__dirname, 'blocks/alert-box/index.js'),
    'context-box': path.resolve(__dirname, 'blocks/context-box/index.js'),
    'context-label': path.resolve(__dirname, 'blocks/context-box/context-label/index.js'),
    'card': path.resolve(__dirname, 'blocks/card/index.js'),
    'hello': path.resolve(__dirname, 'blocks/hello/index.js'),
    'posts': path.resolve(__dirname, 'blocks/posts/index.js'),
    'custom-data': path.resolve(__dirname, 'blocks/custom-data/index.js'),
    'container': path.resolve(__dirname, 'blocks/container/index.js'),
  },
  output: {
    path: path.resolve(__dirname, 'dist'),
    filename: '[name].js',
    clean: true
  }
};
Init.php)Atualize o método register_blocks() para incluir também os estilos. Aqui ficou assim o trecho completo:
foreach ($iterator as $file) {
    if ($file->getFilename() !== 'block.json') {
        continue;
    }

    $block_dir  = $file->getPath();
    $block_json = json_decode(file_get_contents($file->getRealPath()), true);

    if (!isset($block_json['name'])) {
        continue;
    }

    $block_name = $block_json['name'];

    if (in_array($block_name, $excluir, true)) {
        continue;
    }

    $slug = explode('/', $block_name)[1] ?? null;

    if (!$slug) {
        continue;
    }

    $asset_file = "{$dist_path}{$slug}.asset.php";
    $script_url = "{$dist_url}{$slug}.js";
    $style_url  = "{$dist_url}{$slug}.css";
    $style_path = "{$dist_path}{$slug}.css";

    if (!file_exists($asset_file)) {
        continue;
    }

    $asset = include $asset_file;

    wp_register_script(
        "wp24h-{$slug}",
        $script_url,
        $asset['dependencies'],
        $asset['version']
    );

    if (file_exists($style_path)) {
        wp_register_style(
            "wp24h-{$slug}",
            $style_url,
            [],
            filemtime($style_path)
        );
    }

    register_block_type($block_dir, [
        'editor_script' => "wp24h-{$slug}",
        'style'         => file_exists($style_path) ? "wp24h-{$slug}" : null,
        'editor_style'  => file_exists($style_path) ? "wp24h-{$slug}" : null,
    ]);
}
✅ Com isso, o WordPress carrega os estilos nos dois contextos: editor e frontend.
Você terá um bloco de alerta reutilizável que muda o visual de acordo com o tipo selecionado. Tudo isso sem duplicar HTML ou criar blocos separados — poder condicional com um único atributo.
Clique aqui e, em seguida, clique em Permitir na caixa que aparecerá na parte superior da janela, próximo à barra de endereços.
Se você está aproveitando nosso conteúdo gratuito, vai adorar os benefícios exclusivos que oferecemos aos nossos assinantes! Ao se tornar um assinante do WP24Horas, você terá acesso a:
Não perca a oportunidade de maximizar seu potencial no WordPress. Clique no botão abaixo para se tornar um assinante e leve suas habilidades ao próximo nível!

Se você está aproveitando nosso conteúdo gratuito, vai adorar os benefícios exclusivos que oferecemos aos nossos assinantes!
Não perca a oportunidade de maximizar seu potencial no WordPress. Clique no botão abaixo para se tornar um assinante e leve suas habilidades ao próximo nível!